Project Setup
We use Sanity CMS to manage blog in all the boilerplate templates. This guide will show you how to create a new Sanity project and configure it into the template.
1. Create Sanity Project
To create a Sanity project, login to your sanity.io account and go to https://www.sanity.io/manage?new-project
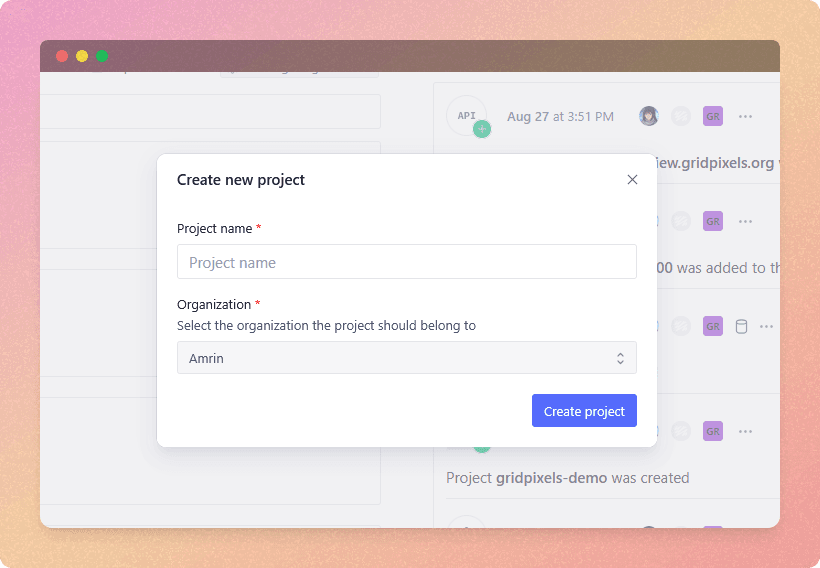
You’ll see this popup, enter your Project name and choose your Organization from the dropdown menu. Once you are done hit the Create Project button.
You’ll be redirected to your project dashboard, and you’ll see a Setup guide. You don’t have to follow this step. Scroll down and you’ll see Skip Getting Started, click on that and skip this part.
2. Get the Project Name and ID:
Once you skip the Getting Started steps you’ll be redirected to the projects page.
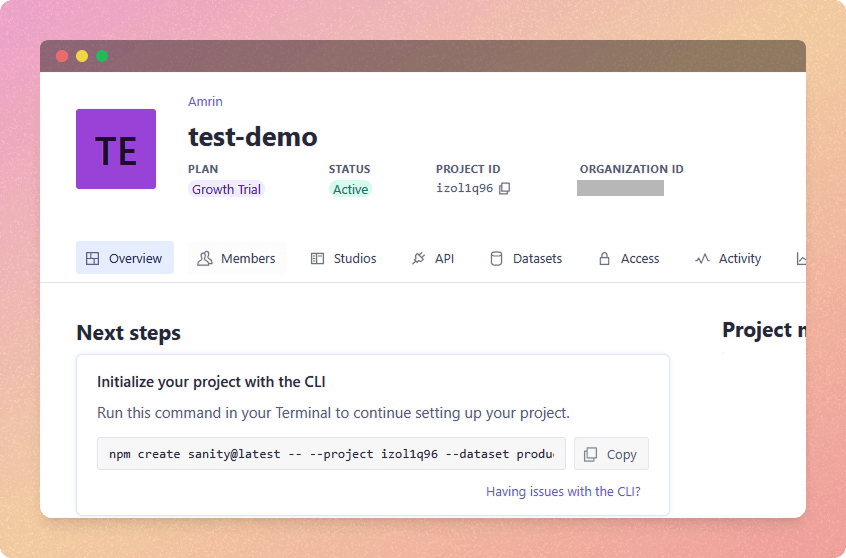
Copy the Project Name and Project ID. Now add these keys to the .env file
NEXT_PUBLIC_SANITY_PROJECT_TITLE=YOUR_PROJECT_NAME
NEXT_PUBLIC_SANITY_PROJECT_ID=YOUR_PROJECT_ID
Once you add the .env variables you can open the studio locally: http ://localhost:3000/studio
3. CORS configuration
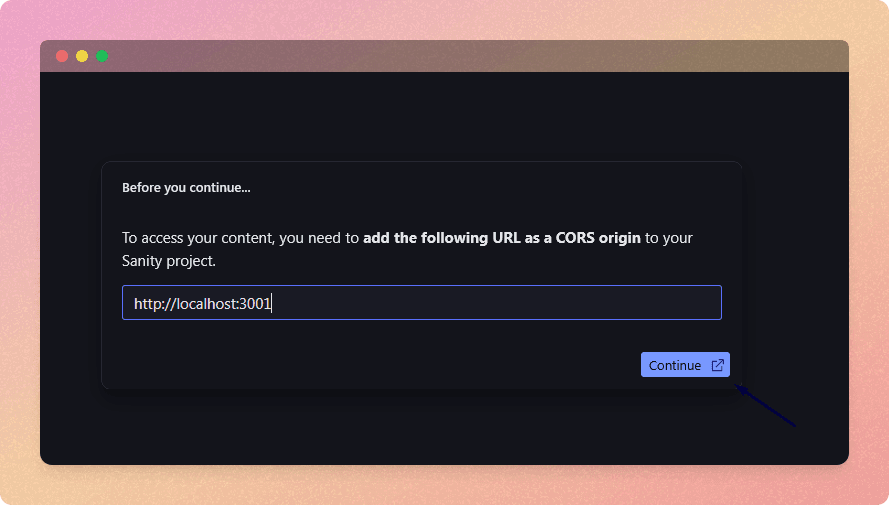
When you visit http ://localhost:3000/studio, you’ll see a popup asking you to add the URL as a CORS origin.
Click Continue to add it to the allowed origins list. Otherwise, the Studio won’t be accessible.
If the Continue button doesn’t take you to the CORS settings page, go to your project’s dashboard and open the API tab.
- Under the CORS Origins section, add your URL to the list.
- Make sure to check the Allow Credentials box before saving.
4. Login to your Sanity Project
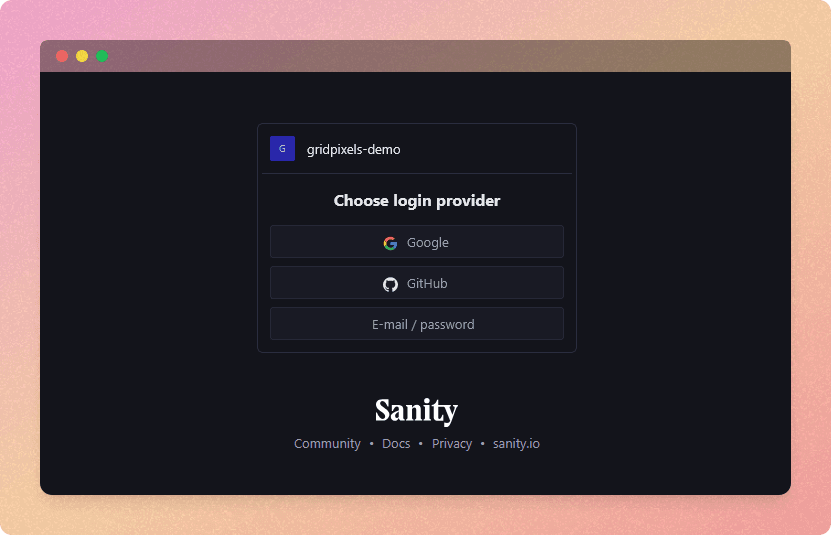
Once you add the url to the CORS list, you’ll see a login popup.
Go ahead and login to your Sanity account.
All set!
If you’ve followed the steps, you’re ready to create your first blog
post and publish it.